Workspace roles
Roles are strictly ordered: Owner > Admin > Editor > Viewer.
There is exactly one owner per workspace. Ownership can be transferred but not shared. Only owners can assign the owner role.
The default for new members is Editor — enough to create projects and ship work, not enough to change billing or invite others.
Inviting members
1
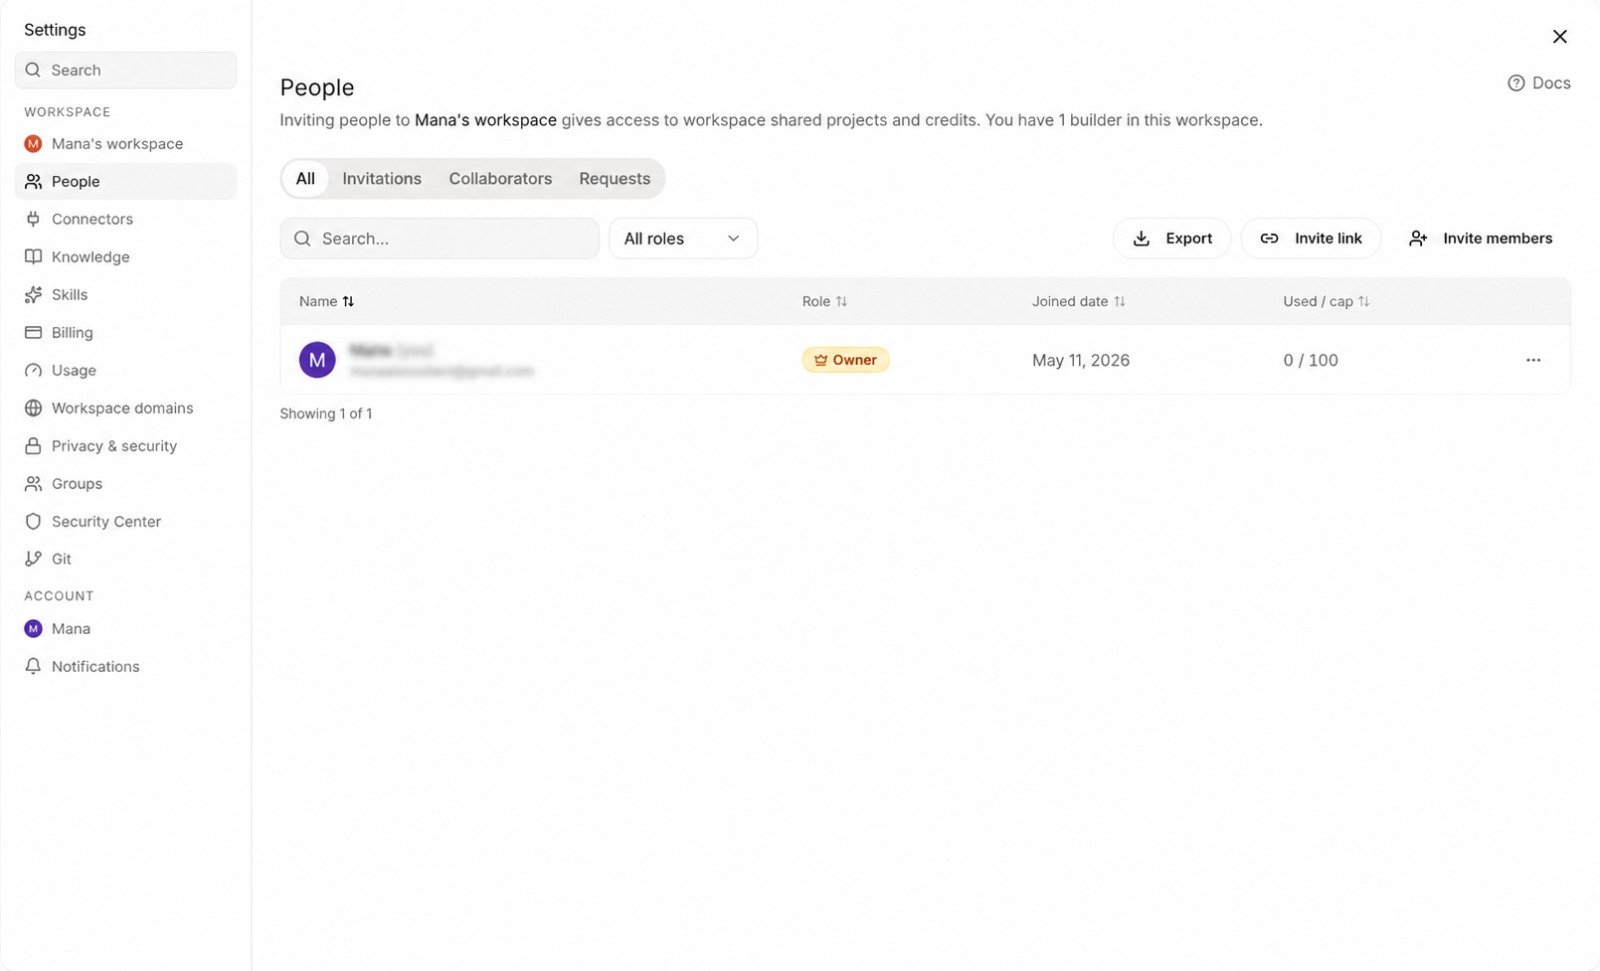
Open People
Workspace settings → Team.
2
Click Invite
Choose Invite by email for individual invites, or Invite link to open the link dialog. Both flows ask for the invitee’s email and the workspace role, then mint a token-backed, role-scoped URL — the link is single-use and tied to the email you entered, so a forwarded URL won’t let the wrong person in.
3
Pick role and scope
Set the workspace role. Optionally, restrict access to a subset of projects only (see Project-scoped access below).
4
Send
If the invitee already has a Vibely account, they’re added to the workspace immediately. If not, they get a sign-up link; once they sign up, they land in your workspace.
Pending invitations
The Team panel shows a Pending tab listing every invitation that hasn’t been accepted yet — invitee email, role, who sent it, and when it expires. Admins can revoke a pending invite at any time; the token is invalidated immediately and the link 404s.Project-scoped access
By default, members can see every project in the workspace at the level their role allows. You can override that for any member — restricting them to a specific list of projects. This is useful for:- Client collaborators — give them Editor access to one project, no visibility into anything else
- Short-engagement contractors — scope to a single project for the engagement
- Cross-functional teammates — give Marketing Viewer access to the marketing-site project, not to the internal admin tool
Changing someone’s role
Team panel → click a member → Change role. The change applies immediately. Members in the affected role get a system notification so they’re not surprised by capability changes. Only owners can promote a member to owner; admins can promote up to and including Admin. Downgrading from Admin to Editor revokes billing and connector access immediately. Their existing projects keep working; they just can’t manage workspace-level settings any more.Removing members
Team panel → member → Remove (or Leave workspace if it’s yourself). Their access is revoked immediately, and the action is written to the audit log with actor, target, and timestamp. The member’s commits and edits stay in project history — only their ability to make new ones is removed. Removing a member doesn’t delete:- Projects they created (they stay in the workspace; ownership stays with the workspace, not the individual)
- Their comments on previews
- Their entries in audit logs
Per-member credit limits
Admins can cap how many AI credits each member consumes per billing cycle, from Team → <member> → Spend limit. The cap is monthly and resets on the workspace’s renewal date.- Useful for client collaborators, interns, or contractors where you want a guardrail without restricting which projects they work on.
- Once a member hits their cap, their agent turns are paused until the next reset (or until an admin raises the cap).
- The workspace’s overall spend cap still applies on top of per-member caps.
Member groups (Business)
Groups are named buckets of members used for bulk access management. Create them from Team → Groups — e.g.eng-mobile, client-acme, design-leads.
- A member can belong to multiple groups.
- Group membership is independent of workspace role; the effective permission is
role ∨ project grants ∨ group grants. - Admins can export the full group / member matrix to CSV for auditing.
Group project grants
Instead of granting access to one member at a time, admins can give a whole group view / edit / admin access to a project from Project settings → Access → Add group. Revoking the group revokes everyone in it from that project in one click. This pairs especially well with client engagements: create aclient-acme group, grant it admin access to the Acme projects, and onboarding a new collaborator is one drag-and-drop.
Member limits per plan
Each workspace runs its own seat limit because each workspace is its own subscription. See Creating workspaces for the pay-then-create flow when you spin up another.
Hitting the seat limit doesn’t break anything — new invites are queued, and you’re prompted to upgrade.
Transferring ownership
People panel → an admin’s row → Transfer ownership. The current owner becomes an admin; the chosen admin becomes the owner. Useful for:- Founders handing off operational ownership to a CTO or COO
- Agencies handing the workspace to a client at project completion
- Employee changes when the owning person leaves the company
Next
Project settings → People → Collaborators
Add per-project Admin / Editor / Viewer access.
Admin settings
Billing, security, audit, connected accounts.
Workspace overview
Structure, switching, and when to split workspaces.
Customize → Workspace
Workspace identity and branding.